Scene Creator
How to use the Product Lens AI Overlay Editor / Scene Creator
Since version 2 of the app, the overlay editor has been completely overhauled. Making it much simpler to use, and the way you access it has changed. It is now refered to as the ‘Scene Creator’.
To access the scene creator, you first either upload an image to use as the background or select one from the built-in collection.
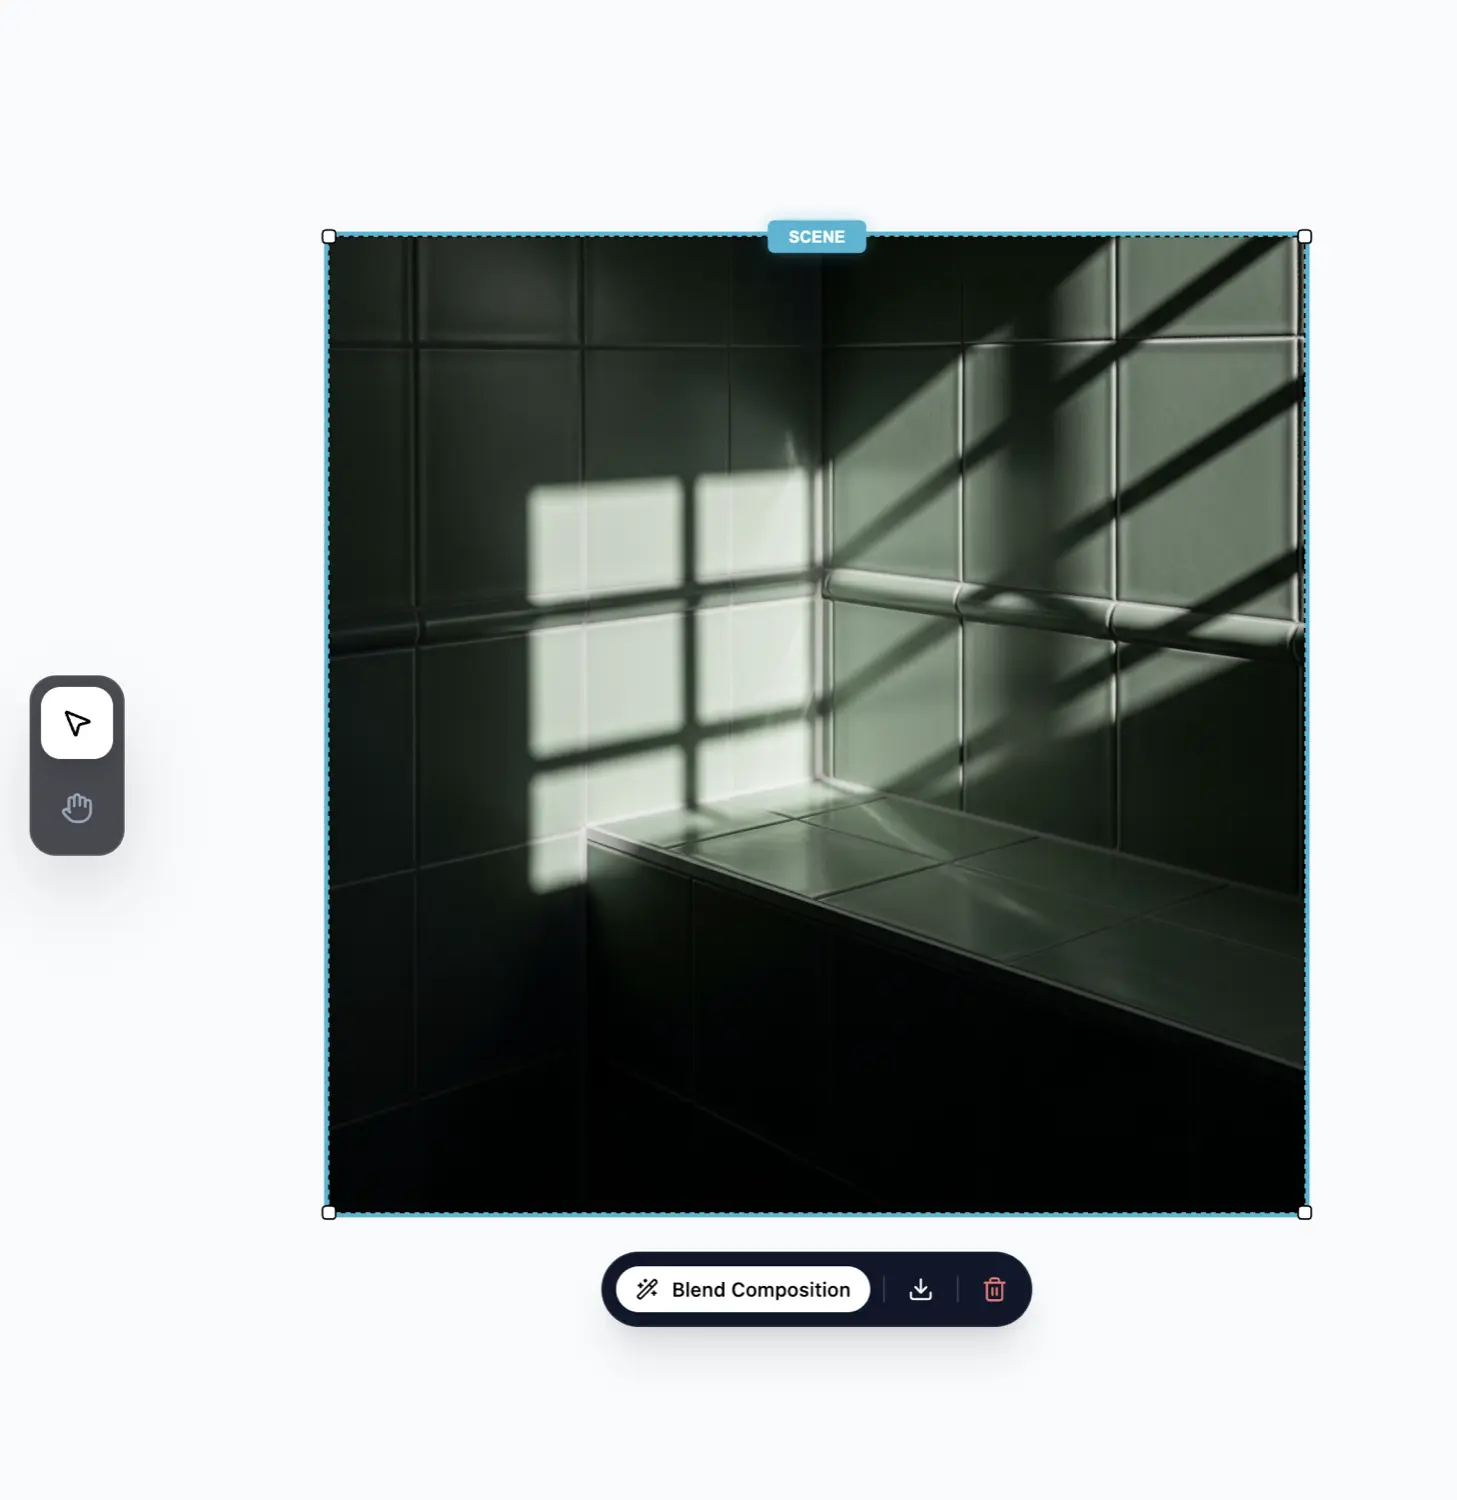
Simply click the image you just uploaded/selected, then from the floating toolbar, click the ‘Set as…’ button and set the image as the scene.
The image will now be set as the scene, and you can begin adding products to it.
Upload or select a product image, and drag it into the scene.
Your product must be photographed on a white background, or you must use the background removal tool to remove the background first.

Arrange the product in the scene to your liking, and use the transform controls to adjust the product’s position and scale.
Once you’re satisfied with the product’s position and scale, you can click the ‘Blend composition’ button and our AI will blend the product into the scene.
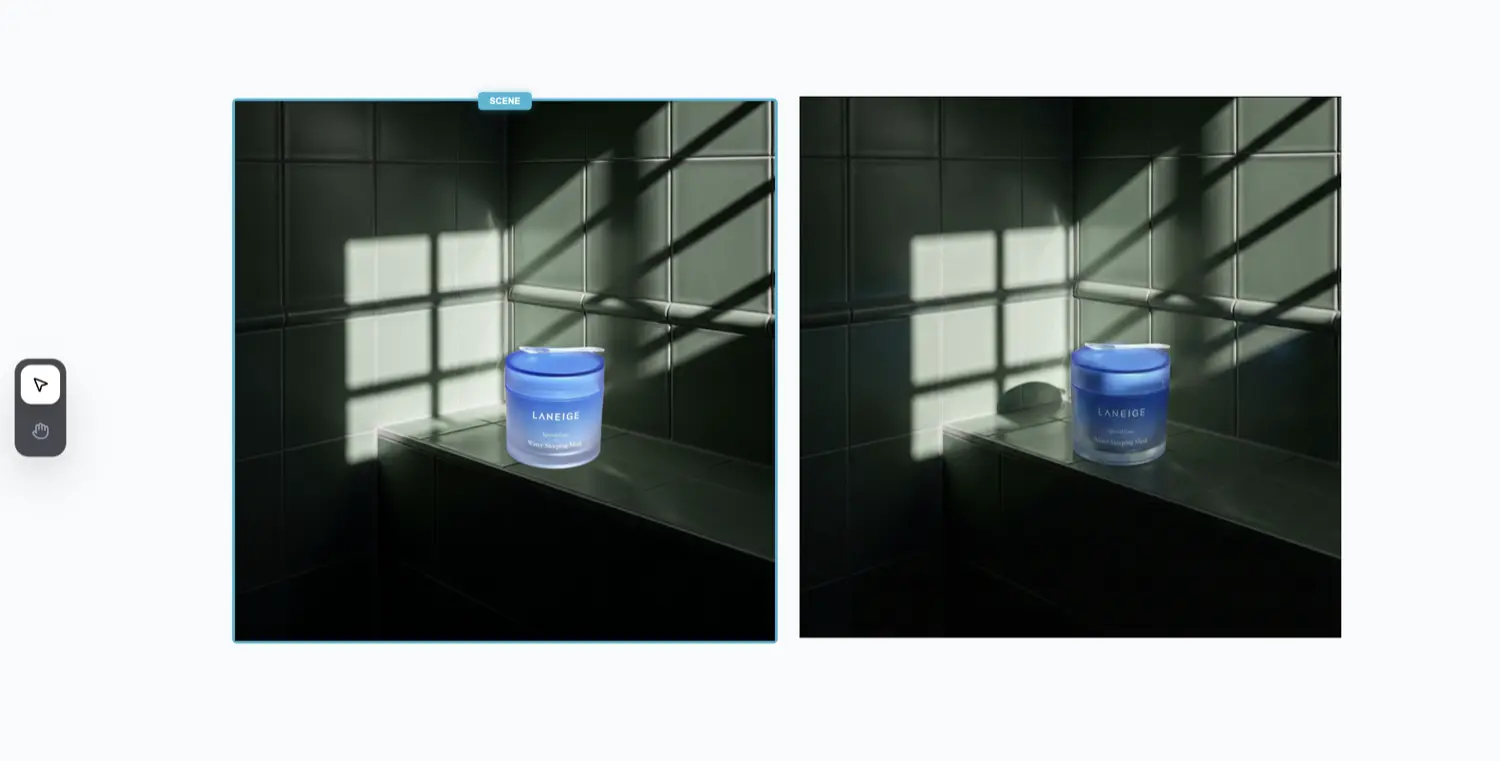
You can now download the image, ready to use on your website, store, or social media.